
A form is one of the most common and relevant patterns in web-development. I had to implement one today, yesterday and last week. And chances are good, you did as well. Most of the time we learn one way to handle forms (depending on our current stack) and ignore or forget about the other ways. But it can be helpful to keep them in mind - or to know them in the first way. #KnowYourPossibilities
As I'm using React with serverside rendering lately, this became an important topic.
HTML Form
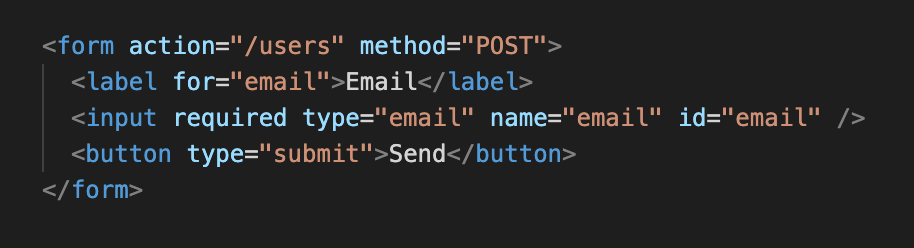
The old-school and cheapest as well as the easiest way to submit a form. You don't even need JavaScript in the client!
<form action="/users" method="POST">
  <label for="email">Email</label>
  <input required type="email" name="email" id="email" />

  <label for="name">Name</label>
  <input required type="text" name="name" id="name" />

  <button type="submit">Send</button>
</form>
This will:
- Validate in the browser that the user entered a valid email and a name (and show error messages in the user's language if not).
- Create a POST request to
/usersonce the user hits the "Send" button. - Set the Content-Type header in the request to
application/x-www-form-urlencoded. - The request will contain a urlencoded string that will look like:
email=example@penguin.academy&name=Penguin.
If we want to handle this in the server, we could parse the urlencoded string. In case of express, this is how we would do it:
const app = express()

app.use(express.urlencoded({ extended: true }))

app.post(
  '/users',
  (req, res) => {
    console.log(req.body.email) // will now contain our email.
    res.send("<html><body>Alrighty.</body></html>")
  }
)
Note:
express.urlencoded()is a middleware that will check every request. If the Content-Type header matchesapplication/x-www-form-urlencoded, it will parse the data and add it to req.body.- For the ones familiar with react that still use bodyparser for this: We do not need to include bodyparser anymore 🤙
- We can send back some html. This will be rendered in the client.
Let's have a closer look at what and how we can handle the response here.
#1 Response: Send HTML
The easiest and above-shown example is to send back html. This will be shown to the user. We could add some server logic to handle success and error cases by simply returning a different html.
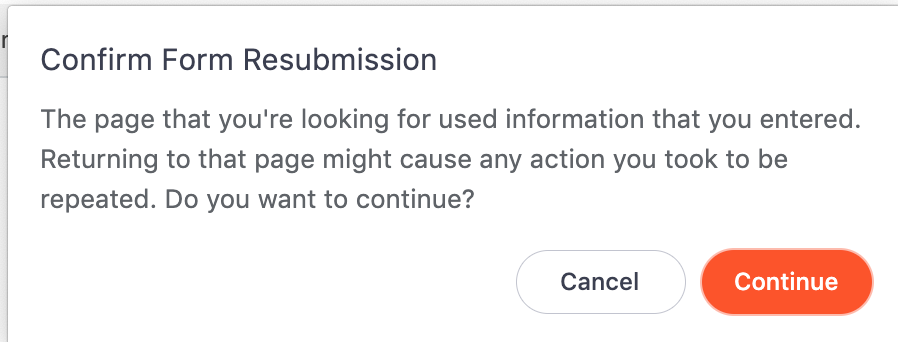
When a user reloads the page, it will trigger a resubmission of the data. It will show a warning, but this can be a problem - or at least am effect that you might not want and need to handle with additional care.
#2 Response: Redirect
Instead of sending back html, we could also redirect the user. This will work per default in post requests triggered by forms in all browsers. One thing to note is that ajax libs (such as fetch or axios) will not support this.
app.post(
  '/users',
  (req, res) => {
    res.redirect('/users?success')
  }
)
We could pass a query parameter and then show a message depending on the query param.
#3 Response: Redirect with Session
If we have a session (e.g. for authentication) we could make use of flash messages. Those are messages that are kept in the session and are sent to the client on the next request (only once). We could simply do this by:
app.post(
  '/users',
  (req, res) => {
    res.flash({ success: 'Alrighty' })
    res.redirect('/users')
  }
)
Using this approach you could show this flash message as validation error next to your form or show a pop-up. You could use CSS keyframes to make it disappear after 10 seconds like this: animation: hide 0s ease-in 10s forwards;
To sum up ...
PROS: ❤️
- No JavaScript in the client. Save lines of code. Save time and money coding, maintaining, and fixing it. Works in all browsers. Leanest possible way.
- For #1 HTML response: The user will not be able to reach this page without actually submitting the form - so no direct link will lead to a success or error message. That is cool. 👍
- For #2 and #3 redirects: You will only have one place (your get controller) to handle render logic.
- #3 Sessions: Same as with #1 - Users are not able to access success / error messages through URL states. (Meaning no one can share a link with the form submission success message)
CONS: 🤨
- If you have some error validating the data from the form, you would either have to manually set the values in the server before sending back the html or you would lose the values a user already entered.
- For the #1 HTML response: If you have a more complex render call (let's assume you query your DB and render a template) you would have to handle this in two routes - your get route and your post route. This can add complexity. This is when I would default to a redirect.
- For the #2 Redirect - if you'd use the query params solution to show error or success messages, you'd make the different states directly accessible. (Meaning someone could share a link with the form submission success message)
To conclude ...
We can handle a lot of use cases by simply using a form and no client JavaScript. This might make us more agile and give us an edge when time-to-market is key.
We are restricted though in the user experience. If we need to create a behavior that is not directly supported by the above flow it is time to look into AJAX.
The good news: There is a way we can handle AJAX that directly builds on our basic form. This brings us to ... 🥁
Final thought...
We could first build up a form with the basic flow and only afterwards add AJAX while wasting no time.