
Today I am going to share with you a valuable secret. Get ready! It is possible to install npm modules in Framer Web. Make sure to follow this simple 3 step tutorial along to save yourself time and money upgrading to the Pro Plan and using the Desktop version.
Framer is the best prototyping tool for teams. - Framer about itself 😅
Currently Framer advertises this as a "pro" feature only available in the desktop, but that's not quite right, given you know what you are doing.
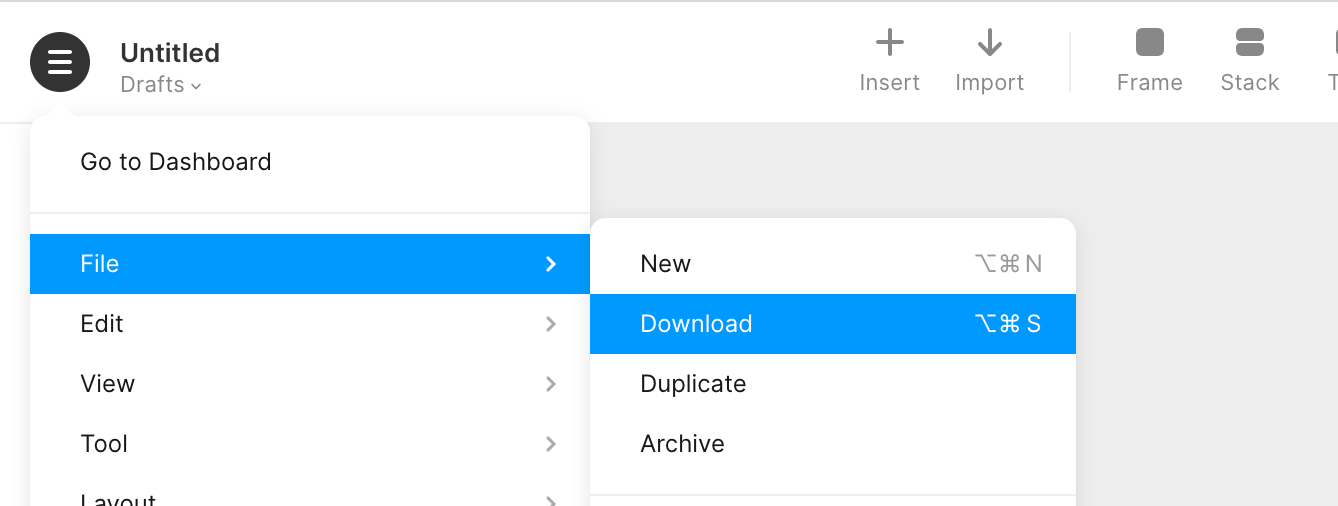
Step 1 - Download an existing project.
In Framer Web open any new or existing project. In the Menu, select File > Download.
This will download a file that is called Untitled.framerx in my case. Important to know, *.framerx is an archive that we can simply unzip.
So we can use any tool to unzip it. I am on a Mac. So I open my terminal, navigate into the folder where the file is and simply run:
unzip Untitled.framerx -d framerProject
Sidenote: You could even do that by renaming the file to untitled.zip and then unpack it with whatever default tool you have installed. 🤓
As a result, we create a folder that contains the individual files of the archive. Let's have a look what we have there:
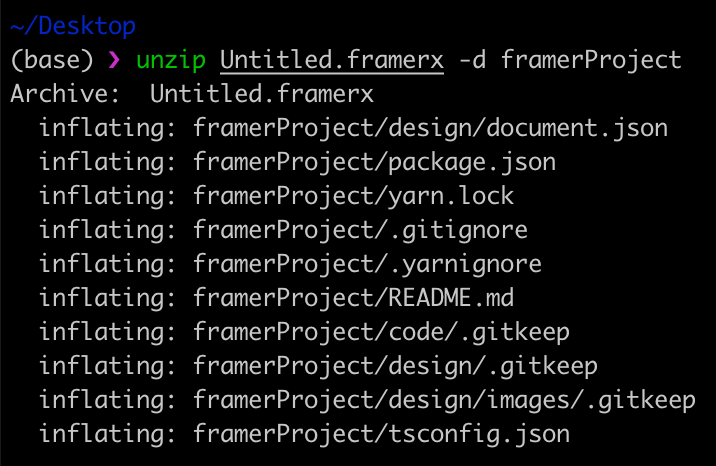
Very interesting! 😁 This is a little beautifully organized project structure. Esp. interesting is the package.json. A framer project is nothing else but an npm package. How awesome is that!?
Step 2 - Install npm package
Since we have a package.json, we can edit the file and add any npm package we might need. You can do this with an editor, but I do it the very simple way. Navigate into the framerProject and run npm install or yarn add. I will be using yarn, as the project already has a yarn.lock. So seems like Framer is using yarn.
cd framerProject and then
yarn add socket.io-client . Replace socket.io-client
Step 3 - Pack and upload
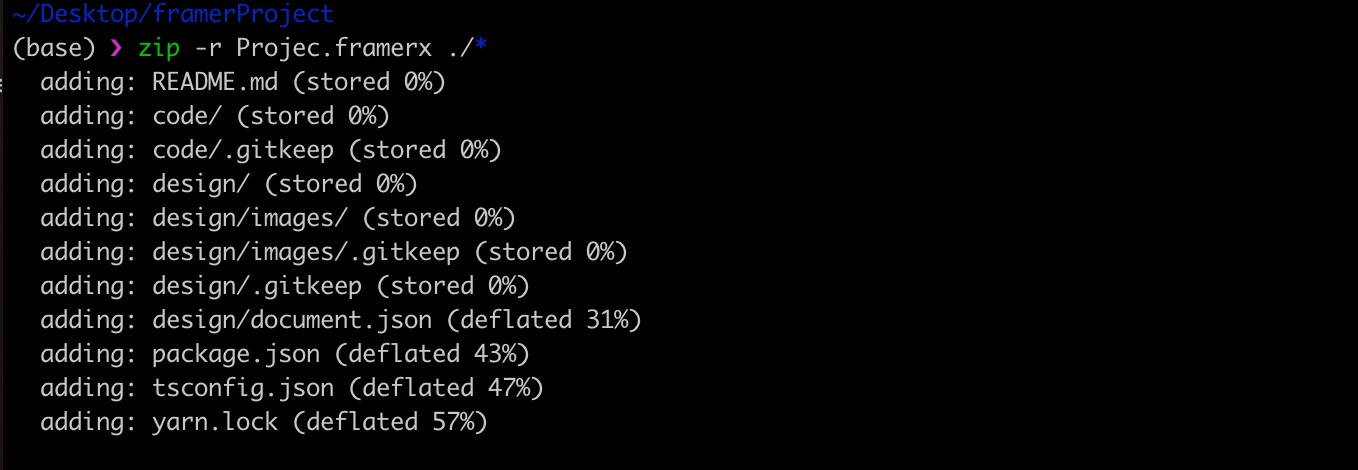
Essentially that's it. Now we need to pack it again and upload it.
First remove the node_modules folder, as we don't want to include this in the zip: rm -rf node_modules. Next, pack all the files in the framerProject folder: zip -r Projec.framerx ./*. Here is the result.

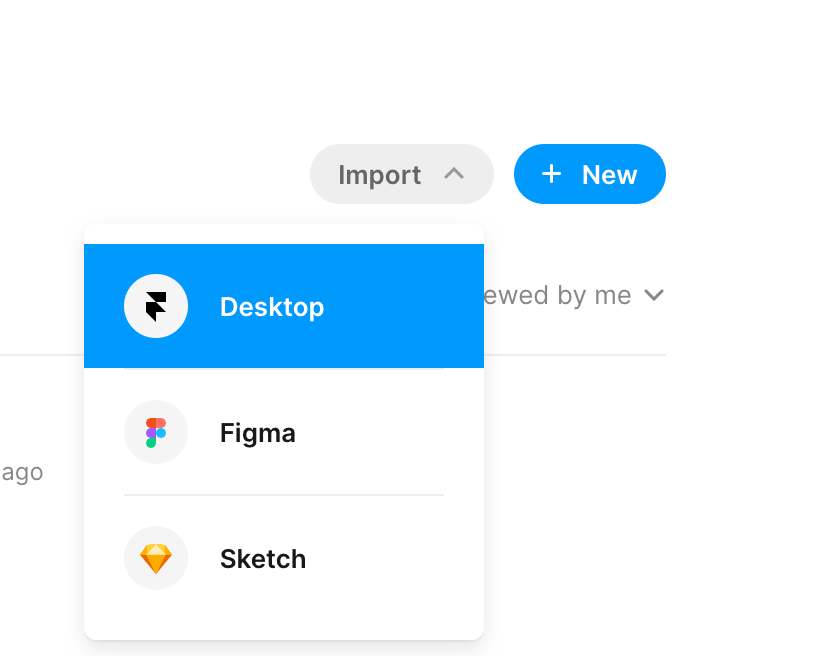
Finally, we can import the project to Framer Web. Go to the Framer Web Dashboard and hit "Import" and select the *.framerx file you just created.
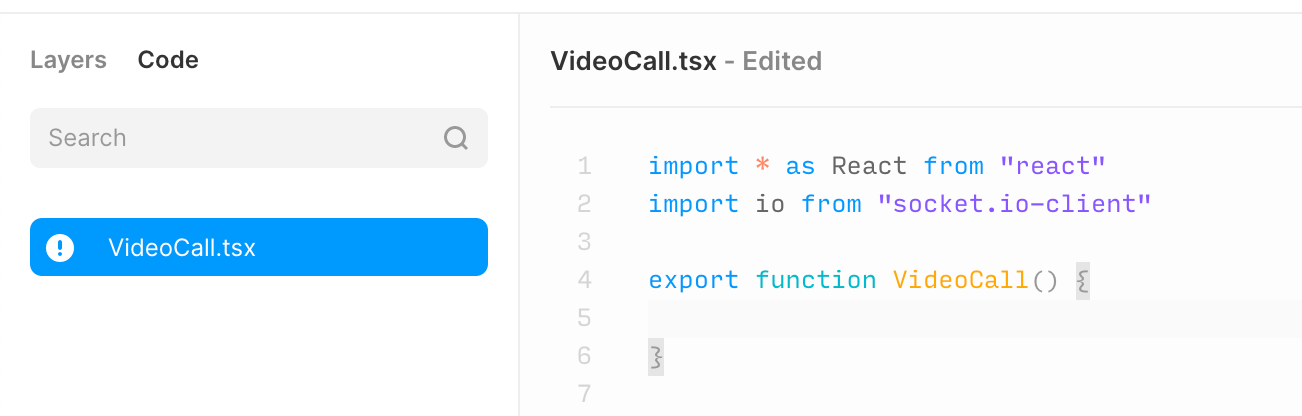
In the open project, you will now be able to use the npm packages in your code.
Here I am using the socket.io package:
🎉 Well done! You made it. And now go, do something awesome with your new secret knowledge. ❤️